
It’s time for yet another post in our series about how to get up to speed with logging. In today’s post, we cover Groovy logging.
If you’re a regular reader, you’re used to how these articles go. They all adhere—more or less strictly—to the format devised by the first post in the series, which was about C# logging.
Today’s post will be one of those that adhere less rigorously to the “classic” format. Instead of jumping right into the basic logging example, we’ll start with a basic overview of the Groovy language. Despite Groovy not being an obscure language, it’s certainly less well know than languages like Java, Python, Ruby, or JavaScript. So, we think the overview is justified.
After that, we’ll move into the basic logging example, getting you from zero to logging way sooner than you’d have expected. Then, we’ll take a step back to explain things. What is logging, after all? Why bother doing it? These are the kinds of questions we’ll be answering.
Equipped with this knowledge about logging, you’ll be ready to build upon our first attempt at logging. So, we’re going to update it, this time using a more sophisticated and realistic logging approach.
Let’s begin.

A Brief Overview of Groovy
You might have been wondering why we included this section. After all, someone who’s looking to get started with logging in Groovy is likely to know what Groovy is. Not everyone who reads this will be part of this group, though. If you’re already familiar with Groovy, just skip this section. We’re nice people, and we won’t judge you for that.
So, what is Groovy? Simply put, it’s a programming language created by Apache in order to replace Java. Groovy is an object-oriented language that has both dynamic and static typing properties. You can use it both as a scripting language and a programming language for the Java platform. Groovy is compiled into bytecode, which makes it possible for it to interoperate with existing Java programs, libraries, and frameworks.

The Simplest Possible Groovy Logging
With the Groovy overview out of our way, it’s time to roll up our sleeves and start doing some work. The first step would be to install Groovy. Visit the installation guide and follow the specific instructions for your platform. If you’re on Windows like me, the easiest alternative is using Chocolatey. Just run choco install groovy, and you should be good to go.
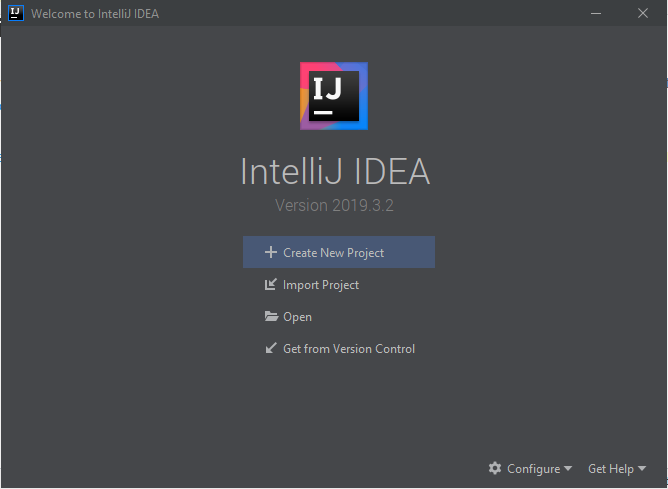
You’re also going to need a text editor or IDE. I’m using the free IntelliJ IDEA Community. Feel free to use whatever editor or IDE you’re most comfortable using it, and make the necessary adjustments as we go.
Creating a New Groovy Project
We’re going to start by creating a new project:
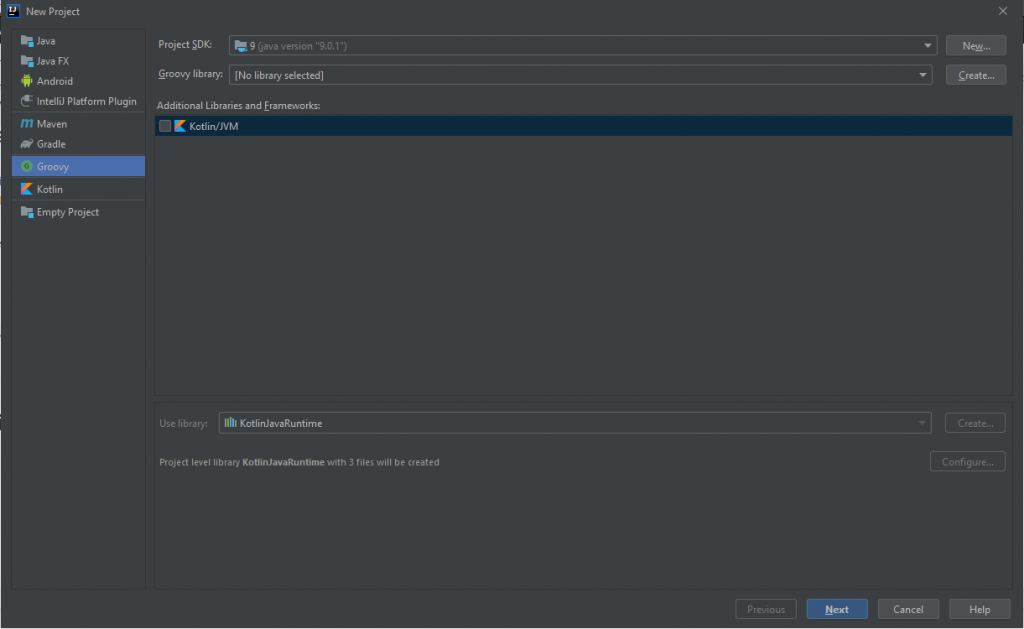
In the New Project window, select Groovy in the left panel and then click on Next.
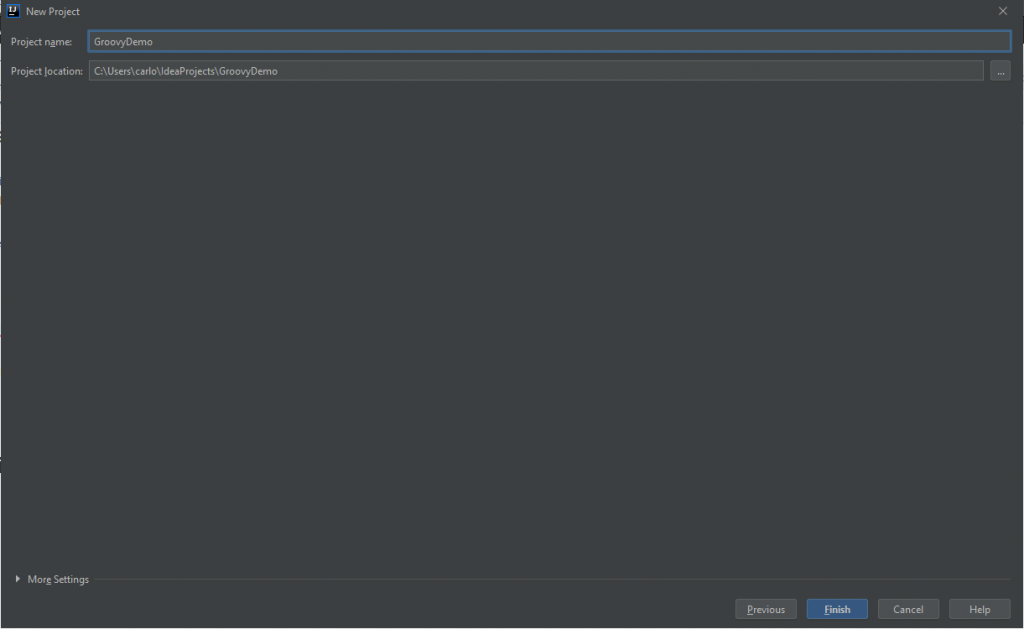
In the next screen, define a name and location for the project and click on Finish.
Writing Code
We’ve created our Groovy project, but it doesn’t really do anything yet. Let’s change that by writing some code. What should our sample project do? It doesn’t need to be complicated or even useful. So, since I’m feeling nostalgic today, I’m just going to write the same application used in the first post in the series. Inside the src folder, create a new file called Main.groovy and paste the following content in it:
class MainClass
{
   static void main(String[] args) {
       String message = 'Hello, user!'
       println message
}
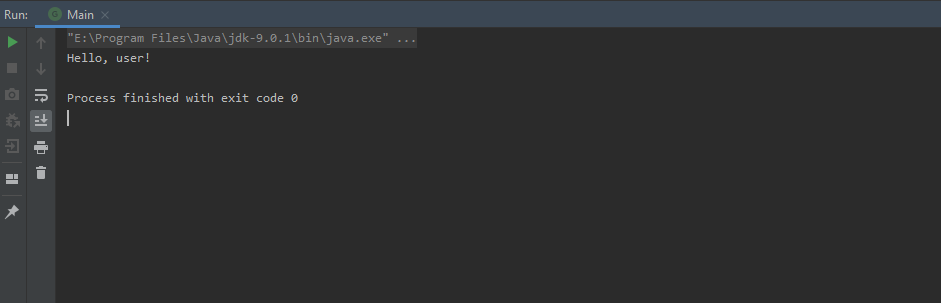
As you can see, the code just defines a variable, to which we assign a message. The next line then displays the message. When I run the application, here’s the result:
Depending on your Java and Groovy versions, you might run into errors when trying to build your application. If you are using Java 9, 10, or 11, you must use the following VM Options:
--add-opens=java.base/java.lang=ALL-UNNAMED --add-opens=java.base/java.lang.invoke=ALL-UNNAMED
Additionally, you’ll have to add extra dependencies if you’re using Groovy 2.5.3 along with Java 11. Go to File, then Project Structure. Find the Dependencies tab and add the dependencies like in the following images:
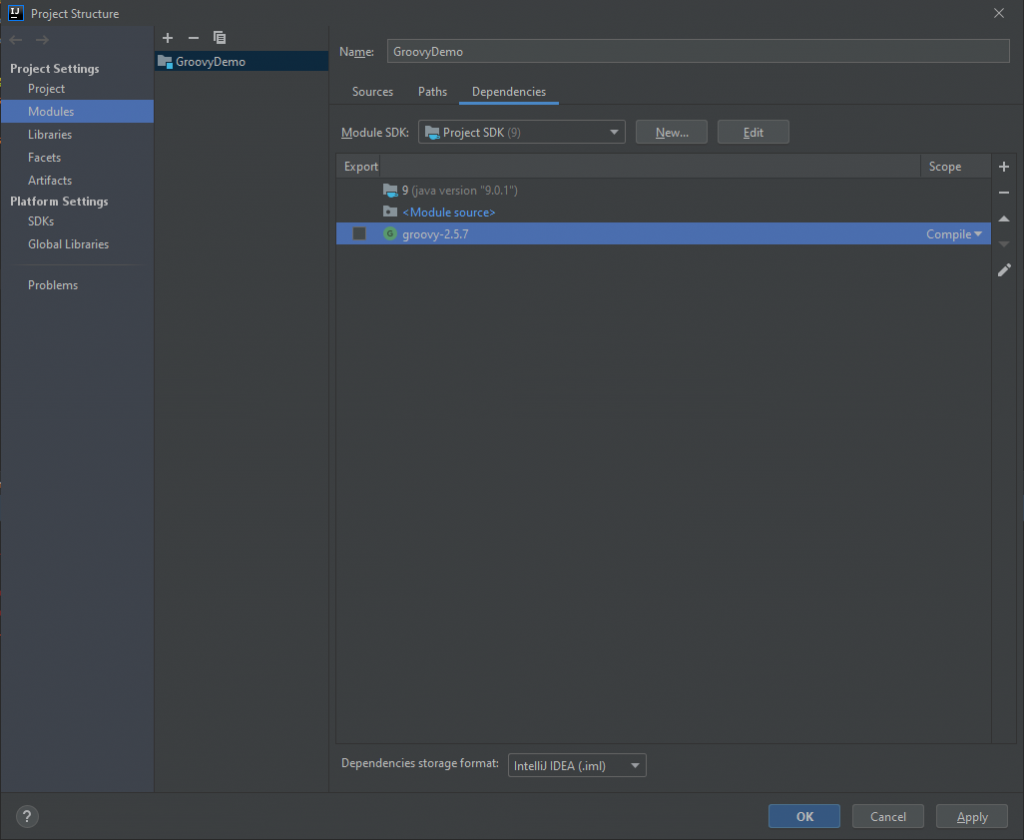
Then click on the + button and select JARs or directories. In the window that shows up, you should navigate to the Groovy install location. There, go under lib, then extras-jaxb and add all of the items there as dependencies.
The application clearly works. Now suppose that, besides showing the message, we also need to log it to a file. How would we go about that? Easy: by adding a single line. Here it is:
new File('.', 'test.txt') << message
If you now run the application again, you’ll get what looks like the same result. That is, you’ll see Hello, User! displayed. But the code will do more: it will also create a log file for you.
Navigate to your project directory, and you should see a file called test.txt there:
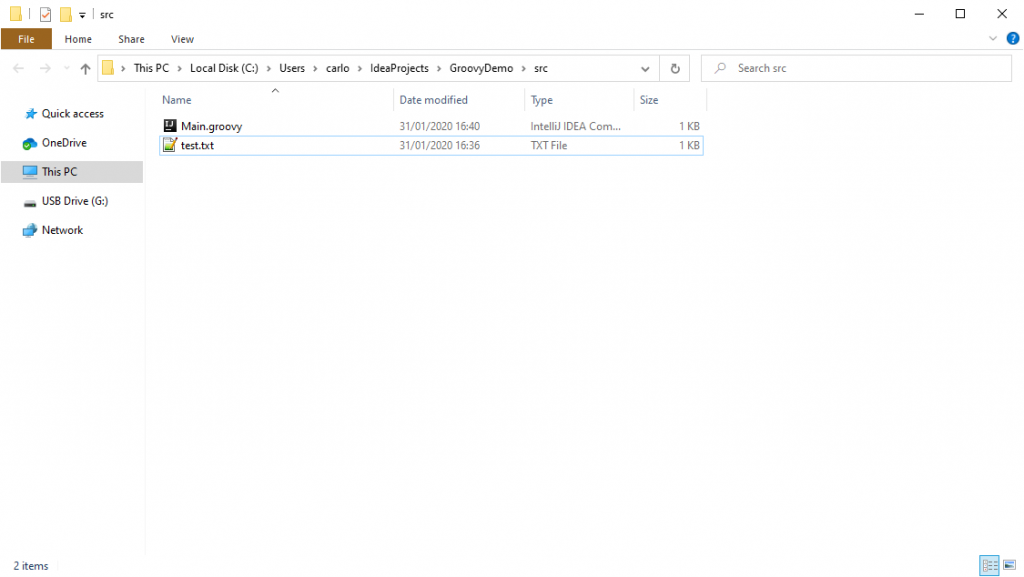
Open the file, and you’ll see that, unsurprisingly, it contains a line saying, Hello, user!
Congrats on Your First Groovy Logger
You’ve just implemented your first Groovy logger! How does that feel? Somewhat anti-climactic, maybe? You didn’t really think it was that easy, right? I totally get the feeling.
What you need to keep in mind is that what we’ve just done barely scratches the surface of what there is to know about logging. It certainly isn’t enough for real-world applications. But it is logging, nonetheless. The quickest, easiest possible Groovy logging, as promised.
Now we need to take this approach and evolve it to something more practical. We can’t do that yet without first understanding what’s wrong—or at least, insufficient—about it. And to do that, we’ll have to dive a little deeper into the fundamentals of logging. You need to understand:
- what logging is
- why it’s so important
- what kinds of information are usually logged
Only then will you be able to appreciate the ways in which our first attempt is inadequate. Let’s go.
What’s Application Logging?
Let’s define logging. According to Wikipedia,
In computing, a log file is a file that records either events that occur in an operating system or other software runs, or messages between different users of a communication software. Logging is the act of keeping a log.
Nothing necessarily wrong with the definition above, but I prefer—and I know I’m biased here—the definition we gave in our C# logging post:
Application logging involves recording information about your application’s runtime behavior to a more persistent medium.
Consider for a minute the application we’ve just created. It accomplishes its goal, which was to show a message to the user. But if we needed to store the message and/or information about it in a more permanent way, we’d need to go one step further. That step is logging. Logging consists of writing a message to a permanent medium, so we can get back to it later.
Sure, this toy app we’ve created is trivial, and if you think there’d be no value in logging in this scenario, I certainly agree. Keep in mind, though, that this being an example, you should use it as a proxy for larger, more complex applications.
As you’ll see next, there are plenty of reasons for logging.
What’s the Motivation Behind Logging?
We’ve just handled the “what” of logging, so let’s now focus on the “why.” Why do people bother logging? There are actually several answers to that.
The most obvious motivation for logging is certainly to help troubleshooting. Software is a really complicated thing. It doesn’t matter how hard we try, or how great our QA strategies are: our apps will break, sooner or later, and we’ll have to fix them. How can we, after the fact, know what happened and why? Even though there are techniques that can help, logs are often the only tool we have. By reading the log entries, we can “time travel” and reconstruct what happened when the application failed and, hopefully, understand the cause of the issue and fix it.
Auditing is another common motivation for logging. Auditing is often a business requirement. In short, it consists of recording events that are significant to the business. These types of logging entries usually refer to actions performed by the users. They might be relevant for management and legal reasons, such as complying with internal policies. They can also be needed in order to comply with external audit processes and regulations.
Finally, a relatively new and increasingly important application for logging is log analysis. This is the process of extracting knowledge from your logs and using that knowledge to help decision making. Log analysis is such an interesting development in that it takes something that was mostly used in a reactive manner and turn it onto its head, so we can use it in a more active way. That is, instead of just using logging for troubleshooting, we can use the insights in them to avoid problems before they even happen.

How Is Logging Done? What Should We Put Into Our Log Files?
We’ve just covered the main motivations behind logging. The next step is to understand what goes into logging. That is to say: what are the pieces of information we should include in our log entries?
First of all, it’s important to understand that each log entry refers to something that happened in a given instant in time. In other words, log entries are events.
The most obvious piece of information you could store about an event is probably the event itself, or a description of it. The second most obvious thing you’d want to record about an event is when it happened. Otherwise, it’d be virtually impossible to get a clear picture of what happened when reviewing the log entries after the fact.
A crucial component of a good log entry is logging levels, such as INFO, WARN, or DEBUG. Log levels are labels that you apply to log entries. Afterward, you can use them for filtering and searching purposes, as well as for directing messages to different destinations according to their levels.
If you’re logging from a multi-threaded application, it’s also essential to include the thread’s name in the log entries.
Proper Logging Isn’t a Walk in the Park
After learning a little bit more about logging, it’s obvious that our little logging approach isn’t really adequate for real-world usage. After all, except for the message, it lacks everything we’ve described above. It doesn’t have a timestamp, nor logging levels.
Besides that, it has other problems:
- For starters, we don’t have an easy way of changing the destination of our log messages (yes, we can simply change the file path, but keep in mind that in a real application, you’d be logging from many different places).
- Also, we don’t have an easy way to add more logging destinations.
- As it stands, our logging approach hasn’t given one second of thought to things like file permissions, how to deal with concurrent access, and so on.
These are just some of the problems with our logging approach. You might be thinking by now that getting a solid logging strategy up and running is quite a headache. The bad news is that you’re right. There are many challenges that must be solved if you’re to have proper logging in your application.
The good news is that these problems are already solved for you.
The Logging Framework Comes to the Rescue
Here is where tools such as logging frameworks or libraries really come in handy. But what are these tools?
Put simply, the challenges around logging, despite being hard, aren’t new. They’ve been here for a long time and are well documented. People have been solving these problems for quite a while now. Many of these smart, talented people take one step further. They don’t just solve the problems for themselves: instead, they package their solution into a reusable bundle and make it available for anyone who needs it as open-source tools. In a nutshell, this is what a logging framework is all about.
Some programming languages or platforms go one step further and offer built-in logging libraries so users can perform proper logging without having to rely on third-party tools. Groovy is one of those languages: it offers logging facilities through the groovy.util.logging package.
Evolving Our Logging Approach
In order to use Groovy’s logging features, we’ll need to make some small changes to our code. First, add the following line at the beginning of the file:
import groovy.util.logging.Log
The line above imports the package we need. We’re still not done, though: the next step is to add an annotation to our class. Just put @Log in the line right above the class declaration.
We’re almost there. The next step is to replace the line where we write to the file with a call to the logging class. This is how the complete code should look like now:
import groovy.util.logging.Log

@Log
class MainClass
{
   static void main(String[] args) {
        String message = 'Hello, user!'
        println message
        log.info(message)
    }
}
If you run the application again, you’ll see that it logs to the console:
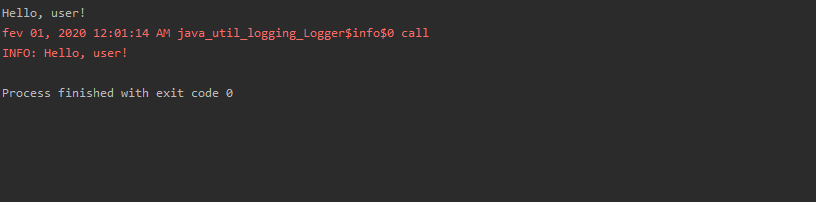
So, as you can see, we’ve successfully logged to the console, using the INFO level. But what about logging to other destinations? When it comes to the production environment, it’s crucial to log to a persistent destination. How would we go about that?

To be able to write to different destinations, we must understand a new concept: handlers.
A handler is a component that effectively writes the log message to its final destination. Logging frameworks/libraries use different names for this component: appenders, writers, targets, and so on. But the concept is the same: a logger can have any number of appenders, which allows it to log to different destinations. Without further ado, let’s see the changes we need to make to our code. First, we’ll need to add a few more imports:
import java.util.logging.FileHandler
import java.util.logging.SimpleFormatter
Then, immediately before the call to log.info(), we’ll add the following lines:
FileHandler handler = new FileHandler("demo.log", true);
handler.setFormatter(new SimpleFormatter())
log.addHandler(handler)
The first line creates a new instance of the FileHandler class, passing two arguments to the class’ constructor: the name the file should have and a boolean value indicating that we want to append to the file instead of overwriting it every time.
Then, we create a new SimpleFormatter object, passing it to the setFormatter method. The formatter object will be responsible for formatting the log message. Finally, we add the handler we created to our logger.
Now, you can run the application again and then navigate to its folder. There, you should see a file called demo.log. Open it, and you’ll see something like this:
fev 01, 2020 12:28:15 AM java_util_logging_Logger$info$1 call
INFO: Hello, user!
Congrats! You’ve just successfully configured your logger to log to a text file instead of the console.
Groovy Logging: What About Now?
In today’s post, we’ve given you a guide on how to get started logging in Groovy as quickly as possible. We started with the most basic Groovy logging you could ask for. Then we proceeded to explain some logging fundamentals: what is it, why do it, what to put in it. After that, we came back to our humble first attempt at logging and remade it, this time using Groovy’s “proper” logging capabilities.
Is this all there is to know about logging in Groovy? On the contrary: this is but the tip of the iceberg. What should your next steps be, then?
Well, since you now have a working setup, you’re in a great position for further practicing. Here are some things you can try:
- Learn different options for formatting. Learn how to display the date using the ISO-8601 standard, for instance.
- Log to different destinations.
- Learn more about levels and how you can use them to control the granularity of your logging.
Also, stay tuned to the Scalyr blog. We’re always publishing interesting logging-related content, so you’ll always catch something valuable if you stick around here. Thanks for reading!

