
Time for us to continue with our ongoing series, in which we teach you how to get started logging quickly in a variety of programming languages.
We started out the series with C#. After that, we proceeded to cover Java, and then we wrote about Python. So, what about tipping the scale to the side of dynamically-typed interpreted languages?
That’s exactly what we’re doing today by teaching you how to get up and running with logging, using the Ruby programming language.
Today’s post will follow the basic structure that’s been used in the previous articles. It will cover:
- How to implement a very rudimentary logger.
- A discussion on the fundamentals of logging: why bother logging, which data to log, and where to log.
- Finally, a very simple yet realistic example of proper logging, with help from the Ruby “Logger” class.
Like the previous installments of the series, we’ll create a very simple toy app in order to demonstrate how to log.
As we’ve just said, we’re going to start with a very primitive—though functional—approach, and we’ll then evolve it toward a more sophisticated and realistic solution.

Some Words About Ruby and Rails
Before we jump right away into the logging part, I figured it’d be useful to set up the correct expectations for this post.
The Ruby language first appeared in 1995, created by Yukihiro Matsumoto, aka Matz. But when it really gained popularity, though, was from 2005 on, largely due to the very successful Ruby On Rails web framework.

Even though many (or even most) developers get to know Ruby thanks to Rails, Ruby itself is a general-purpose language that can be used in a variety of situations and not only for creating web applications.
For that reason, this post won’t cover logging in Rails. We’ll explore logging in the context of a simple command-line Ruby application.
With that out of the way, I think it’s time to get our hands dirty. Let’s start.
Ruby Logging, the Simplest Possible Way
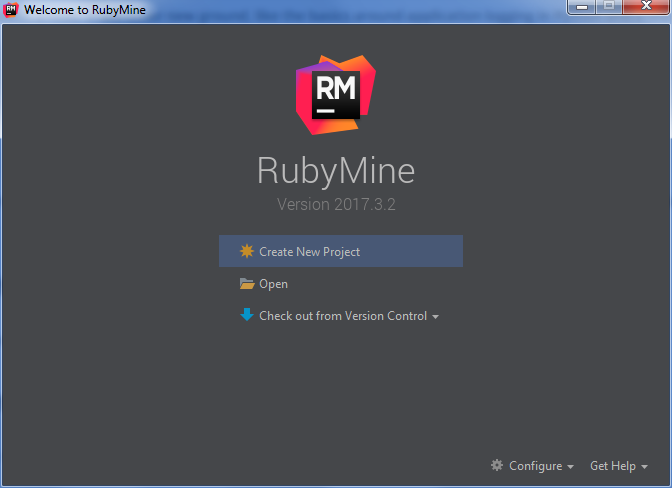
For our demo, I’m going to use JetBrain’s RubyMine IDE. Also, make sure you’ve got Ruby installed.
Once you’re all set up and good to go, open RubyMine and click on “Create New Project”:
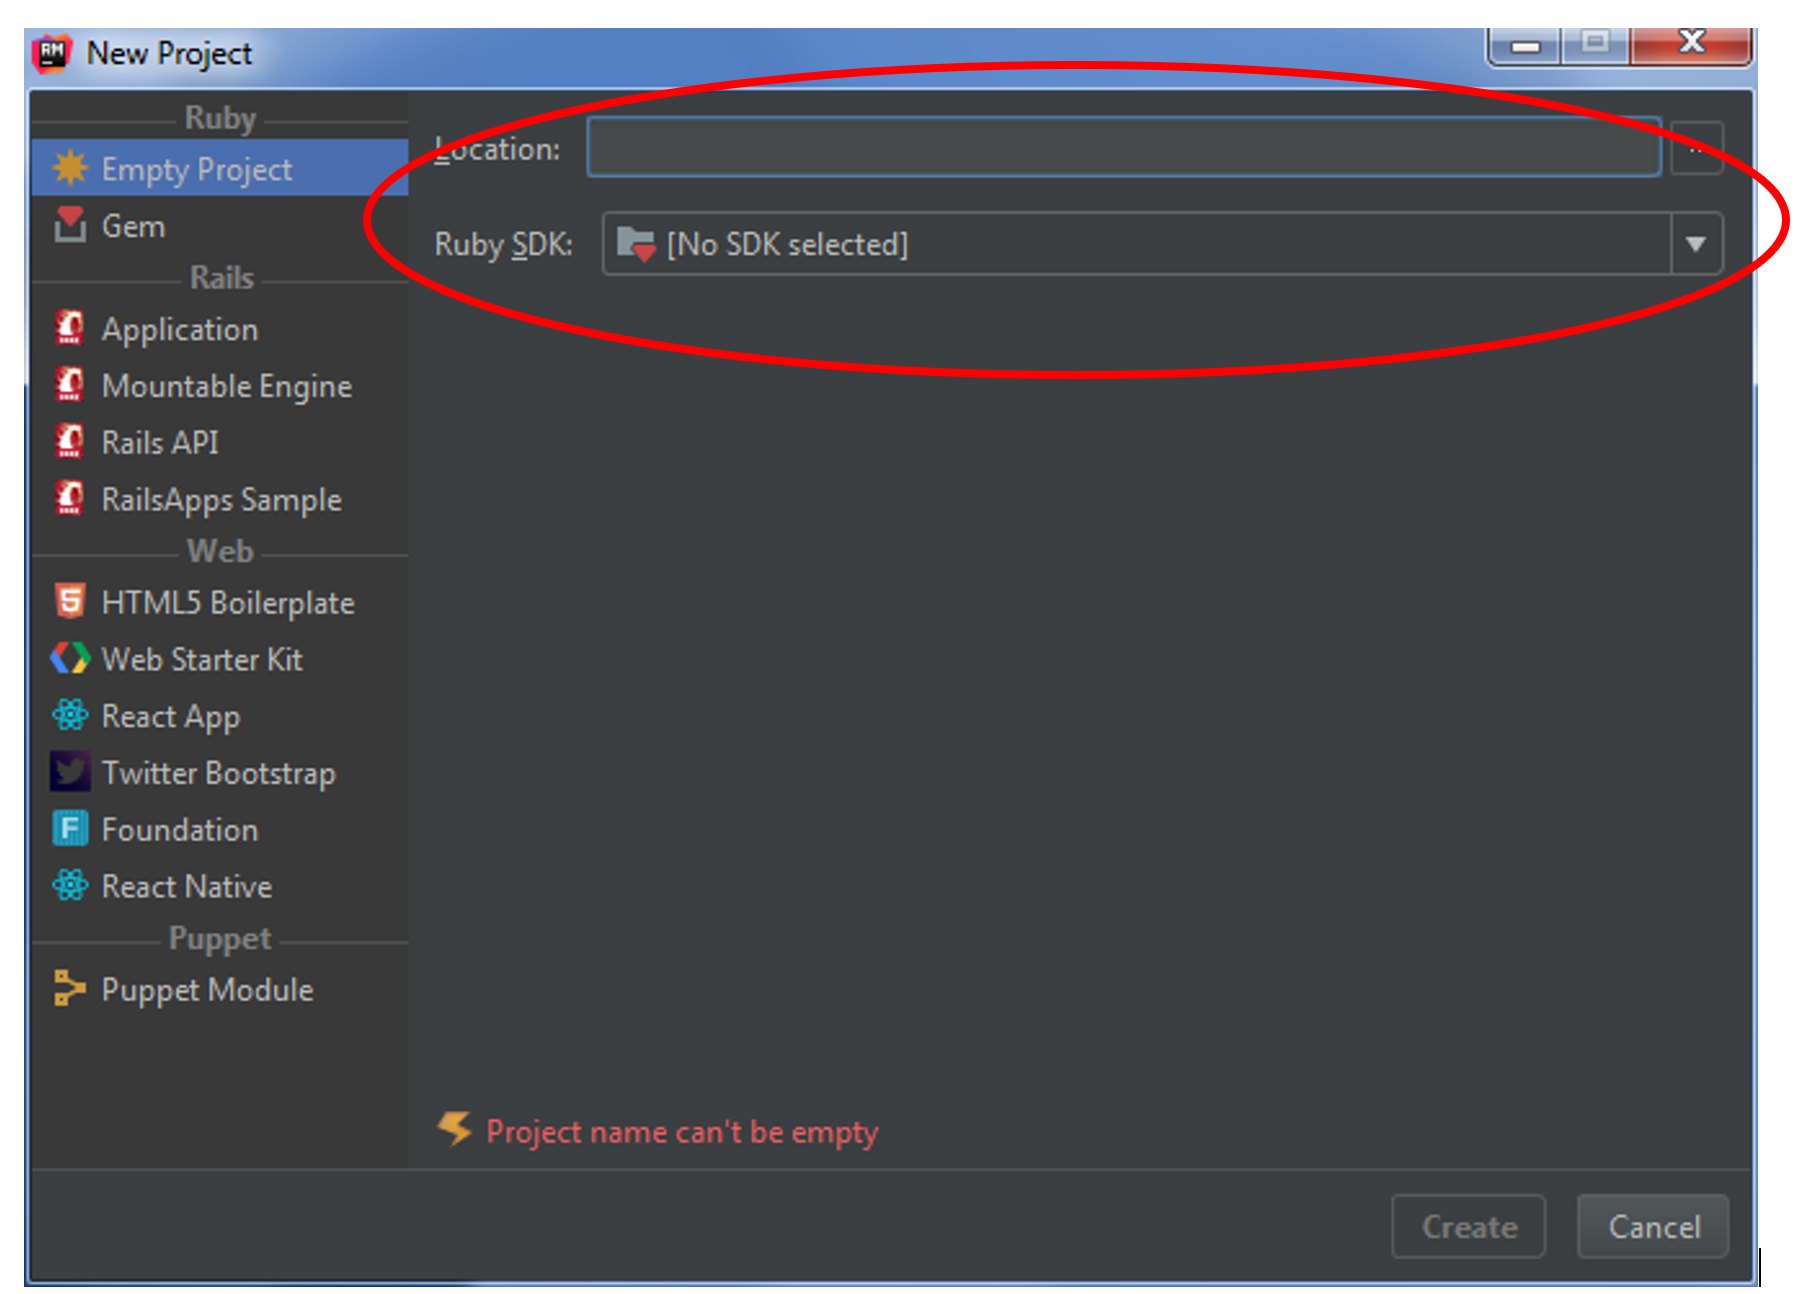
In the next screen, you’ll be asked to choose the project’s type:

As already mentioned, we’re not creating a Rails app today but a very simple Ruby app. So, choose “Empty Project,” which is the first option under “Ruby” on the left bar.
The next step is to set the location/name for your project. After doing that, select the location of the Ruby SDK:
Once you’re done, click on the “Create” button. We’ve successfully created a new Ruby project on RubyMine. Time to start coding.
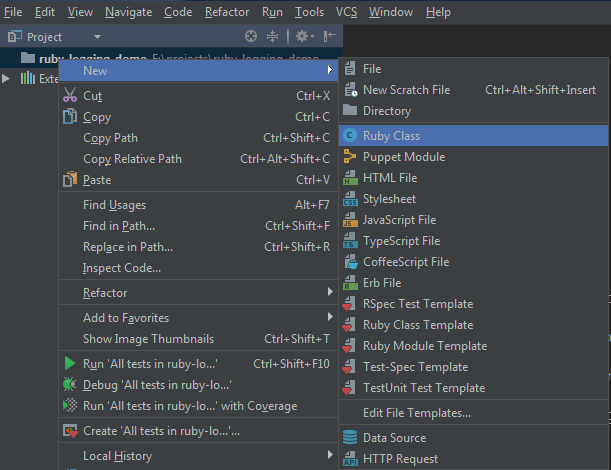
First, let’s add a class. Go to File -> New… -> Ruby class:
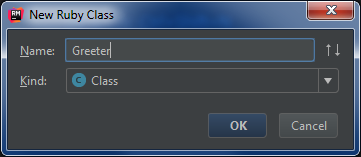
Name it “Greeter” and click on “OK”:
RubyMine will create the class and open it up for editing. Let’s add a “Greet” method that will receive a user’s name as input and print a friendly greeting:
class Greeter
  def greet(user)
    puts "Hi #{user}!"
  end
end
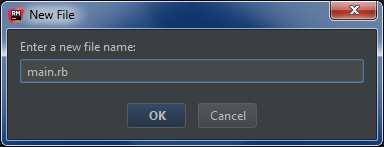
Nice. Let’s now add a new file. Go to the “File” menu, then “New…,” and finally click on “File.” When the dialog shows up, enter “main.rb” as the file name and click on “OK”:
This file will serve as the entry point for our little toy app. Insert the following code into it:
require_relative 'greeter'

puts "Please type your name:"
name = gets.chomp
greeter = Greeter.new
greeter.greet name
This code should be very easy to understand. On the first line, we load the “greeter.rb” file so we can access the “Greeter” class we’ve defined.
Following this, we print a request to the user to type their name. Then we read from stdin and assign the value to a new variable called “name.”
On the next line, we create a new instance of the “Greeter” class and assign it to a variable of the same name. Finally, we call the “Greet” method on “Greeter,” passing the name we read from stdin as a parameter.
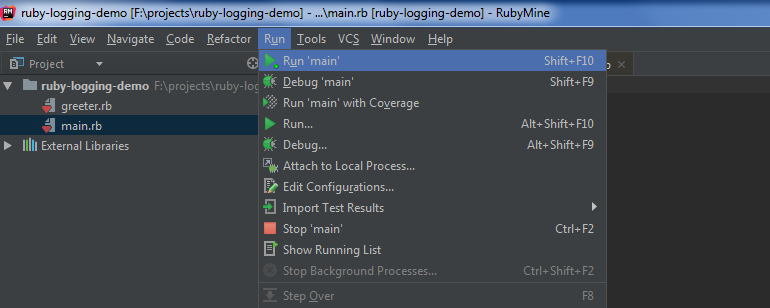
Time to run our app. Go to the “Run” menu and choose the first option, as you can see in the following image:
Alternatively, use the shortcut SHIFT + F10 (on Windows and Linux) or CNTL + R (on Mac). If everything goes well, you should see something like this on the “Run” tool window:

Type your name and press ENTER, and you should see this:
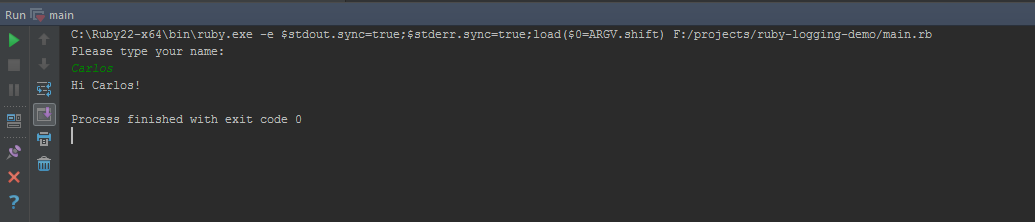
Well, not exactly this, of course. Unless your name is also “Carlos,” in which case I congratulate your parents on their good taste in names.
Jokes aside, we’ve got our little toy app up and running! It successfully displays a greeting to the user. But now let’s say someone decided this isn’t enough.
We also need to register the greetings somewhere, which can really come in handy in several ways. How to go about that?
There’s no shortage of options, of course, but since this is a “get logging as quickly as possible” guide, we don’t really want to get fancy.
Go back to the “Greeter” class and edit it so it looks like this:
def greet(user)
  message = "Hi #{user}!"
  puts message
  File.write('ruby-demo.log', message)
end
Not a lot of changes. We’ve just added a new line of text that writes the greeting to a file.
There’s also a new variable, “message,” that exists just to avoid a duplication. So, run the app again, type your name, and the app should continue behaving the exact same way.
But now navigate to the project folder and you’ll see a new file there, accompanying the project’s source files:

Open the file and you should see the greeting message. And that’s it. This is your first attempt at logging with Ruby. Feel good about yourself yet?
What Is Application Logging?
I often use Wikipedia’s definitions in posts since they’re reasonably well written and can serve nicely as a starting point for discussion.
In this particular case I won’t, though, since the one I like the most is the definition given in the first post of the series:
Application logging involves recording information about your application’s runtime behavior to a more persistent medium.
This definition is, in my opinion, as good as it gets; it’s short, easy, and to the point.
I don’t really feel the need to add more to it, which frees us to get to a more interesting question: why log?
What’s the Motivation for Logging?
Why bother logging? Basically, we log for the same reasons we record any kind of information—so we can get back to it later.
In the case of your application behavior, there are many ways in which this can come in handy.
It probably goes without saying, but…software is a massively complicated thing. While you’re developing it, you hopefully employ techniques, tools, and principles to try to ensure its correctness.

But when the time for release comes and you set your application free into the world, you’re basically giving up control. Things can go wrong, and often they do.
If you don’t have a proper strategy for monitoring your application’s behavior in production, you’re basically running blind. Without logging, you can’t know
- If everything is OK.
- What happened, exactly, when something goes wrong. You also won’t know when or how it happened.
- Which features people use the most and which ones they don’t they use at all.
- Which area of the application is responsible for most crashes.
And so on. As we’ve seen, application logging is essential not only to help you understand and fix errors but also to help you gather data so you understand the needs of your users.
Evolving Our Approach: What Should We Capture? Where Should We Store It?
Being able to put on your detective hat by investigating your application’s log files can bring several benefits, as we’ve just seen.
Our toy log, in its current form, isn’t quite there yet. It just writes the greeting to a file, after all.
Now it’s up to us to evolve our approach so our log files can reach their maximum usefulness. But how to proceed with that?
First, we have to understand the nature of a log entry. This is going to sound familiar if you’ve read some of the previous posts on the series, but I’m going to recap here for completeness’ sake.

You should think of a log entry as an event—something that’s of interest to your app that happened at some time. So the value of your entry is all about what you capture regarding the event.
Here are some examples of things that might make sense for you to capture:
- A timestamp. When did the event take place? (You’ll probably want to follow best practices of dealing with dates and times, such as using the ISO-8601 format, for instance.)
- Context. You need to make it as easy as possible for the future reader to understand what this entry is about.
- Log levels. Log entries can wildly vary in their purpose. You have to have some way of distinguishing an entry whose sole purpose is to debug some execution path from another that records some event of interest to the business (customer placed an order) or from even another that writes down the details of a fatal crash for posterior investigation. Log levels are your friends here.
After deciding what type of events you want to log (Each method call? Just business events? Only fatal errors?) and what data about them you want to capture (timestamp, description, log level, logged user, time of session), the next step is deciding where you want to log to.
See, even though the demo app logs to a file, there’s nothing preventing you from logging to a variety of targets, such as the database, the console, or even an online service.
Enter the Logging Framework
Think about our toy app. It was designed to give you as quick a start on the Ruby logging world as humanly possible.
But now you’re hopefully more knowledgeable about logging and can analyze our demo in a more critical way.
By doing that, we can come up with several questions that need answering, such as:
- How can we prevent the log file from getting overwritten every time?
- Since we’re talking about files, don’t we have to worry about file permissions, concurrent access, and other concerns that arise when doing IO?
- Will we have to write a lot of code to add the timestamp, log levels, and other important information we want to capture with each event?
And there are many more issues we can come up with. It didn’t take a lot of thought to conclude that our logging strategy just lacks a lot of important things. Coming up with a proper logging strategy is no small feat, as you can see.

The good news is this: you don’t have to answer all of those issues on your own. People have already solved those kinds of problems before, and guess what?
Many of them decided to make their solutions available to the world in the form of a logging framework.
A logging framework is a package meant to provide “free” logging for you. With a little bit of configuration, you can make one-line calls that, despite being as simple as the one in our toy example, can do a lot more.
They’ll generate log entries with nice, consistent formatting, and all of the issues we discussed above will be pretty much taken care of.
As with Python, Ruby has logging built in, which can really make thing easier. Let’s explore it a little bit.
Getting Started With the Ruby Logger
First of all, let’s change our existing code to make use of the “Logger” class. Go to the “Greeter” file and add the following line right at the start of the file:
require "logger"
Now, remove the line where we write the greeting to a file, and add the following lines:
logger = Logger.new File.new('example.log', 'w')
logger.info message
Then, the complete “Greet” method should look like this:
def greet(user)
  message = "Hi #{user}!"
  puts message
  logger = Logger.new File.new('example.log', 'w')
  logger.info message
end
The code should be easy enough to understand. We create a new instance of the “Logger” class, giving it a new File by parameter.
In the next line, we log the greeting message at the INFO level. Now, let’s run the app again and see what happens.
Checking the Results
Next, navigate back to the project folder, and you’ll notice there’s a new file hanging out there called “proper.log.”
Open it using your favorite text editor, and you should get something like the following:
I, [2020-02-28T14:41:59.538985 #11520] INFO -- : Hi Carlos!
Let’s break this line down. First, we have the severity ID. Here “I” for INFO:
I
What follows is the event timestamp, in ISO-8601 format:
2020-02-28T14:41:59.538985
Then the PID of our app:
#11520
The label for the severity:
INFO
And finally, the message itself:
Hi Carlos!
The Power of a Logging Framework
Just by adding three lines of code (the “require” line and the two new lines inside the method), we were able to implement a simple yet realistic example of a logger.
Of course, a logger for a “real life” application would require a lot more thought—and work.
But I do hope that after this quick example, you’re now both more knowledgeable about the principles that govern logging and also eager to explore and learn more.

General Logging Best Practices
Before we wrap-up, we’ve figured we’d share some logging best practice tips. Rather than being only applicable to the Ruby programming language, the tips we’ll share are generic and you can adopt them no matter your language or platform.
- Leverage the power of a logging framework or library. In other words, don’t reinvent the wheel. The simple approach we’ve shown at the beginning of the post has a didactic purpose; as we’ve mentioned, it’s not really suited for real-world usage.
- Employ the proper logging levels. Adding the proper levels to your log entries is one of the most vital steps you can take to ensure they’re useful in the future. Want to learn more? We have an entire post about logging levels.
- Provide context. Make your log messages meaningful by providing as much context as you can, but pay attention to the next tip.
- Don’t Log Personal Identifiable Information. Depending on your country, you might have to follow GDPR or similar regulation, which creates rules about the kinds of user data you can and cannot process. You could violate such regulations by logging information that can be traced back to users. So, educate yourself on the regulations you must be compliant with and then follow them to the letter.
- Keep your logs both machine-parsable and human-readable. Making your logs parseable by machine will enable you to leverage the power of a number of useful tools. Additionally, keeping them readable will make the lives of the people who use them for troubleshooting purposes easier. So, keep your log entries both human-readable and machine-parseable.
Where Do You Go Now?
I’ll repeat what I’ve written in the post on Java logging: “What we’ve seen today is just the tip of the iceberg.” Even so, I think we’ve delivered on our promise.
We’ve shown you how to get started with Ruby logging as quickly as possible. Your challenge from here on out is to build upon this knowledge.
The best way to do that, in my view, is to start playing with the demo logger you now have.
There’s no shortage of things for you to try. Here are some suggestions:
- Experiment with the different severity levels.
- Learn about formatting options for your logger.
- Research logging to targets other than files, such as a database.
- Once you’re confident enough, try logging options other than the built-in class. Use GitHub and Ruby Gems to learn about those options, and try them!
Last but not least, one final point. Besides the particulars of Ruby, it’s also essential that you learn about logging strategies in general: what to do, what not to do, and all there is in between.
And you happen to be at exactly the perfect place to learn about all that: Scalyr’s blog.
Scalyr offers a log aggregation tool, which means that once you have lots of log files and data, they’ll help you organize and make sense of all the data, enabling you to gather invaluable knowledge that would otherwise be wasted. Give it a try today.
So stay tuned for more, and keep learning!

