
 Let’s continue our series on getting started with logging. We’ve already covered C#, Java, Python, Ruby, and Node.js. This time, we’re going to look at JavaScript logging. If you’re wondering how this differs from the Node.js article, this one will look at pure client-side JavaScript logging. Once again, we’ll get into:
- Logging in a very basic way
- What to log
- Why you should log at the client-side
- How to log using a client-side JavaScript logging framework
The Simplest JavaScript Logging That Could Possibly Work
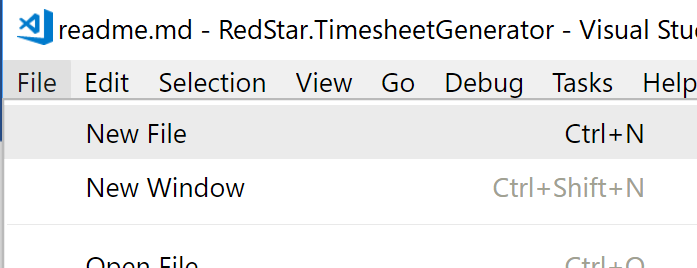
We’ll start by writing a small web page with a button that logs a message. I’ll use Visual Studio Code, but feel free to use the editor or IDE of your choice.
Open Visual Studio Code and create a simple HTML file:
Add the following HTML to create a very simple page with a button:
<html>
    <body>
        <input type="button" value="Log!" />
    <body>
</html>
This definitely isn’t the most production-ready HTML code, but it will work for our example.
Save the file as index.html and open it in your browser (just double-click it). You should see a page that looks more or less like this:

Now open the developer tools of your browser. Usually, you can do this by pressing the F12 key. In some browsers, you need to enable the developer tools first. Check the settings of your browser if necessary.
Once you’ve opened the developer tools, navigate to the console tab. Now click on the button in your web page. As you will see, nothing happens. So let’s add some logging.
The simplest way we can add logging is to call console.log. You’ll need to react to the click event of the button though. So first, we need to be able to identify the button. Add an ID attribute to the button:
<input type="button" value="Log!" id="logButton" />
Now, add the following to the bottom of your page, just before the closing </body> tag:
<script>
    document
        .getElementById("logButton")
        .addEventListener("click", function(event) {
             console.log('Hello World!');
        });
</script>
Save the index.html file and reload the page in your browser. When you click the button now, you should see your message appear in the console:
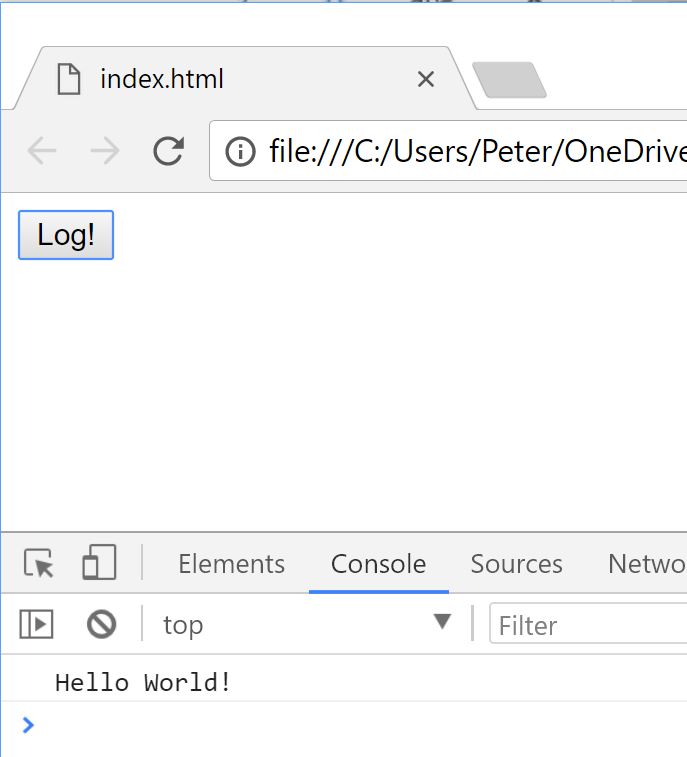
There you go, you’ve logged a message in pure client-side JavaScript. A simple call to console.log will print the message you provide to the browser’s console. But a lot is still missing here.
One thing we don’t have with console.log is the concept of log levels (e.g., info, error, warn, trace). But another more important issue is that this only logs at the client-side. Let’s dive into this last issue first.
The Issues of Client-Side Logging
In our example, we logged a message to the console of the browser. But this browser is running on the machine of your site’s visitor. This visitor could be anywhere in the world. So as a developer, you have no way of reading the messages on machines other than your own.
To make matters worse, the logs are lost when the user navigates to another page. So we’re not logging to a persistent medium. This is a major drawback if you want to read any logs from the past. Remember the definition of application logging we used in our previous articles:
Application logging involves recording information about your application’s runtime behavior to a more persistent medium.
In our other articles, we used the file system as a persistent medium. This isn’t an option in the browser. First, there are security issues that prevent us from accessing the file system from the browser. The browser does contain a persistent medium called local storage. But this doesn’t solve our issue that this persistent medium is on a machine that we can’t access.
What’s the Motivation for Logging?
What are we trying to achieve here? As the definition already said, we want to record the behavior of our application and we want to do so to a persistent medium.
Many applications log their server-side behavior so developers have more information to investigate issues. But often, a lot of information regarding what happens client-side is lost. Maybe JavaScript errors are occurring without the end user knowing it. If your client-side code isn’t notifying you, how can you fix these errors?
What if we could send the client-side logs to a persistent medium we have access to? We can’t plan for every edge case in our code and things will invariably go wrong. Logging to a persistent medium can give us the necessary information to investigate and fix issues after they have occurred.
What Should You Log?
As we’ve mentioned in our previous articles on getting started with logging, there are a number of things you shouldn’t be logging. Personal information is one thing that comes to mind: account numbers, passwords, credit card numbers, encryption keys, social security numbers, email addresses, etc. The OWASP’s cheat sheet provides more guidance here.
So what do we want to log? A good log message contains at least three things:
- A timestamp
- A log level
- A descriptive message
This helps you in building up a trail of the steps that were executed in your code and at what point in time. The log level allows you to filter out noise or go into more detail, depending on what you’re trying to investigate.
Looking at our example, it’s clear that our code isn’t doing any of this. We could write a lot of custom code to address these issues, but wouldn’t that take away our focus on our app?
Enter the Logging Framework
Logging to the browser’s console is a no-brainer. But it provides little value, except when developing locally. The solution to this problem is also simple (in theory): send the messages to a server and write them to a persistent medium.
But this isn’t so straightforward anymore. You will need to write an application that exposes an API to accept logging messages. This includes concerns like:
- designing an API model
- adding authentication
- hosting the service somewhere
Not a trivial task! And we haven’t even mentioned log levels or message formatting.
We could write all this complex code ourselves. But it’s easier to use a logging framework. A logging framework is a software library that will help you log your message together with all kinds of extra information. Usually, this is made possible in one line of code. So I think it’s clear this significantly makes your life easier.
When we’re talking about client-side JavaScript logging, there’s also the server-side. It’s this side that will receive the log messages, together with any other information, and persist the data.
We have several options for the client-side and the server-side.
Client-Side JavaScript Logging Frameworks
There are several options when choosing a JavaScript logging framework. Some are just logging libraries for the client-side, while others are full-fledged solutions with a backend service.
For the purposes of this article, I will try out loglevel. Loglevel is a small configurable JavaScript library that allows you to use log levels (hence the name) in the browser. There are also plugins to extend its functionality. One of these allows sending messages to a remote server.
Getting Started with Loglevel
Open the index.html file we’ve been editing and reference the latest version of loglevel (v1.6.1 at the time of writing):
<html>
    <head>
        <script src="https://unpkg.com/loglevel/dist/loglevel.min.js"></script>
    </head>
    <body>
        …
Next, change the console.log code to:
log.warn("Hello World!");
The entire file should now look like this:
<html>
    <head>
        <script src="https://unpkg.com/loglevel/dist/loglevel.min.js"></script>
    </head>

    <body>
        <input type="button" value="Log!" id="logButton" />

        <script>
            document
                .getElementById("logButton")
                .addEventListener("click", function(event) {
                    log.warn("Hello World!");
                });
        </script>
    <body>
</html>
Now refresh the page in your browser, click the button, and you’ll see the message in your console:
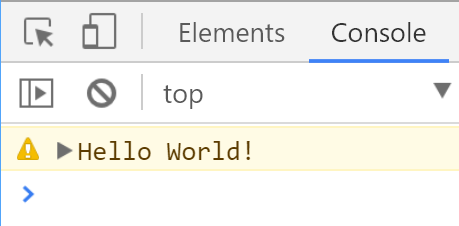
By default, loglevel will log everything with a level of WARN and above. If you also want to see messages with a lower level, change the level by calling setLevel:
log.setLevel(‘info’);
This library now gives us different log levels and several configuration options. But we’re still only logging to the console in the browser. Eventually, we want to store these messages on a persistent medium that we have access to (i.e., at the server-side).
Let’s create a simple Node.js server to host our page. Open a command prompt and navigate to the folder that contains the index.html file. Now enter the following commands:
npm init
npm install connect serve-static
These commands initialize a new project and install the connect and serve-static modules. They allow us to create a local server very easily.
Create a new file named index.js and add the following code:
var connect = require('connect');
var serveStatic = require('serve-static');

connect()
    .use(serveStatic(__dirname))
    .use(function(req, res){
        if (req.url === '/log') {
            var body = "";

            req.on('readable', function() {
                var part = req.read();
                if (part) {
                    body += part;
                }
            });

            req.on('end', function() {
                console.log(body);
                res.end();
            });
        }
    })
    .listen(8080, function(){
        console.log('Server running on 8080...');
    });
So what’s happening here?
First, we use the server-static module to serve any static file that matches our URL. Because we default to index.html, navigating to http://localhost:8080 will serve that file.
Next, we add a custom function to call when no matching file is found. We then check if the requested URL was /log. If that’s the case, we read the body of the request and log it to the console. Then we end the request.
Finally, we listen on port 8080 and log a message to notify ourselves that our server is running.
To test this, run the following command in your command prompt:
node index.js
And navigate to http://localhost:8080.
You should see our simple HTML page with its button again. This means our server is successfully serving the static page. The last thing we need to do is write some code to send our message to the server.
Open up the index.html file again and add this to the <head> tag:
<script>
    var originalFactory = log.methodFactory;
    log.methodFactory = function (methodName, logLevel, loggerName) {
        var rawMethod = originalFactory(methodName, logLevel, loggerName);

        return function (message) {
            var payload = {
                message: message,
                logLevel: logLevel
            };

            var xhr = new XMLHttpRequest();
            xhr.open("POST", "http://localhost:8080/log", true);
            xhr.setRequestHeader('Content-Type', 'application/json');
            xhr.send(JSON.stringify(payload));

            rawMethod(message);
        };
    };

    log.setLevel(log.getLevel());
</script>
In this piece of JavaScript, we’ve extended the loglevel library to send every message that is being logged to our local server. The original logging method is still being called, so the message will still be visible in the browser’s console. But we’ve wrapped that original method in a new method that also sends a POST request to the server.
If you now refresh the page in your browser and click the button, you should see this in your command prompt:
![]()
This means we have successfully sent a log message to the server.
What to Do Now?
Sending log messages from a client-side application to the server-side is very different than logging purely server-side. In the example above, we created a very simple setup that only sends a message and a log level. In a real-life scenario, you might want to send more information to the server—information like browser version, device information, current URL. Depending on the information you need, you’ll design your server-side API differently.
But it should be clear that a client-side logging framework provides more value than just calling console.log. A good logging framework will give you log levels and extensibility points. This last part is important in order to send the messages to a server, which you will need to do if you want to read the messages.
Implementing client-side logging is a nontrivial task, so it’s understandable if you don’t immediately see a starting point. But in a world of complex single-page applications with many lines of code, having insights into the behavior of the client-side application is very valuable.
A simple start would be to just send the console.log messages and any global errors to your server. There you can at least store them in a file. A next step could be to add contextual information to what you send to the server, like browser version or device information. Finally, you could consider log aggregation and management (something Scalyr offers). Such a solution would help you match client-side log messages to server-side log messages.

